

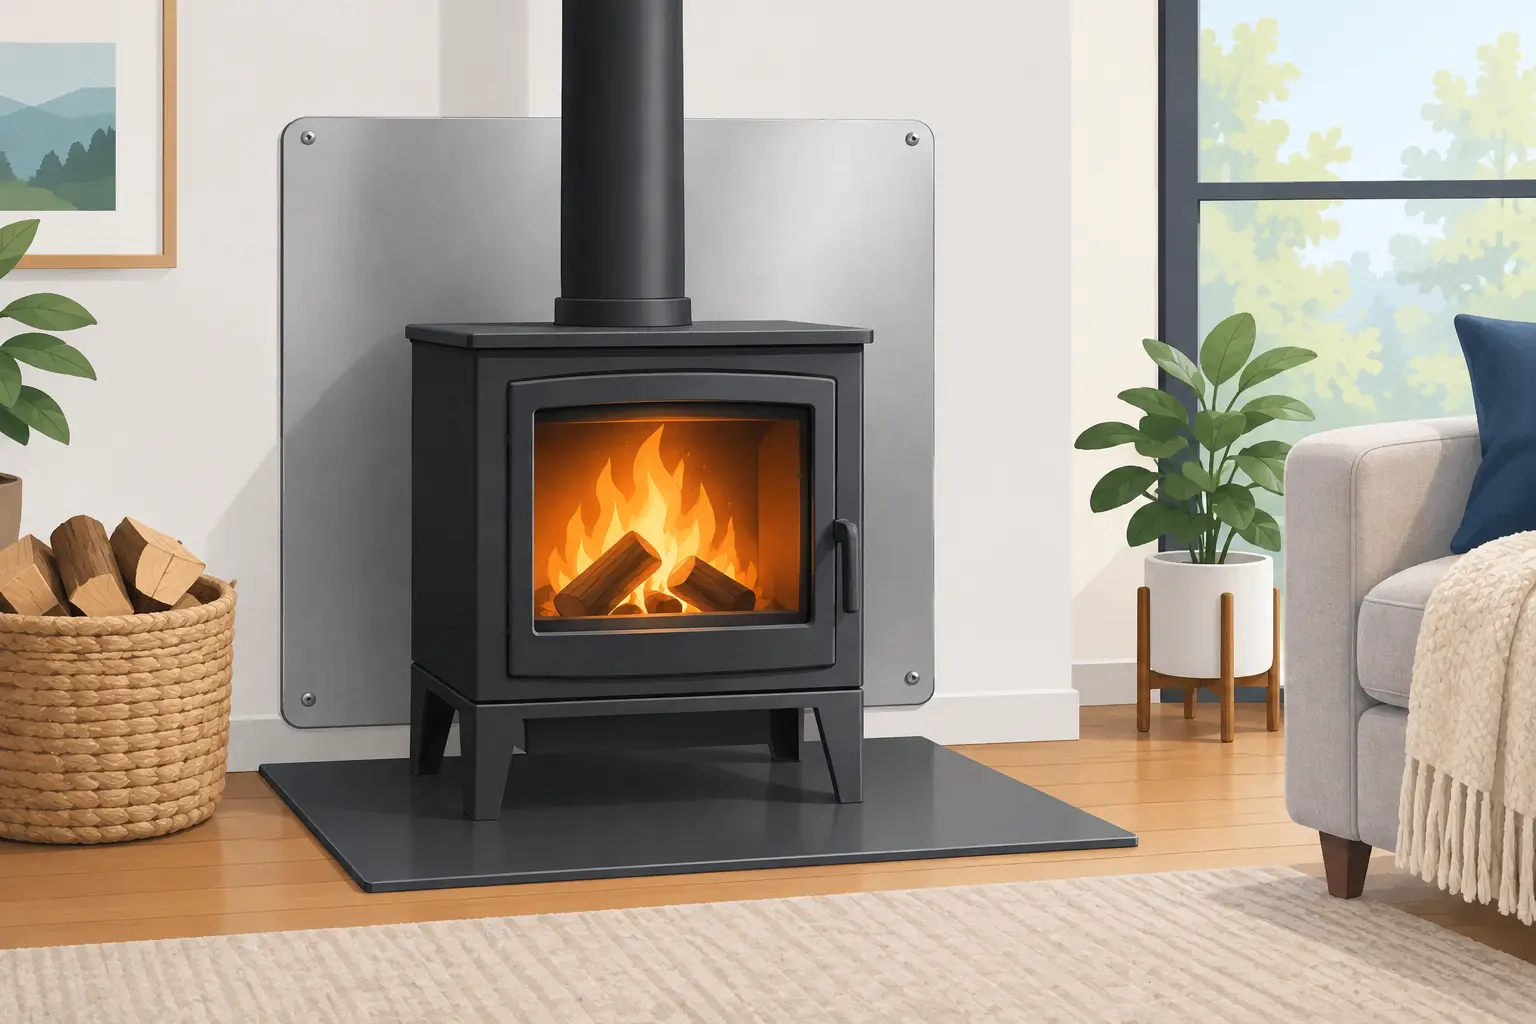
A stove can turn an ordinary living room into the place everyone gathers, but the wall behind it needs just as much thought as the stove itself. This guide to stove heat shields explains what they do, when they may be needed and why professional advice matters before any installation begins.
A heat shield is not simply a decorative panel. It is part of the overall installation design, helping to manage the heat produced by a wood-burning or multi-fuel stove near walls and other combustible materials. The right solution can protect your home, support a compliant installation and give the fireplace area a smart, finished appearance.
What is a stove heat shield?
A stove heat shield is a non-combustible barrier installed behind or beside a stove. Its job is to reduce the amount of heat reaching the wall or surface beyond it. Depending on the stove, the wall construction and the manufacturer’s instructions, it may allow the stove to sit closer to a wall than it otherwise could.
Heat shields are commonly used where a stove is being fitted near a timber stud wall, plasterboard construction, painted wall, wood panelling or another combustible surface. They can also be helpful in chimney breast openings where space is limited, although every installation must be assessed individually.
The key point is that a heat shield does not automatically make any location suitable. Stove clearances are set by the appliance manufacturer and must be considered alongside Building Regulations and the particular construction of your property. A shield is one part of a safe installation, not a shortcut around the rules.
Why stove clearances matter
Stoves give out heat in several ways. The front warms the room directly, while the sides and rear can transfer significant heat to nearby surfaces over time. A wall may not feel dangerously hot during a brief visit, yet repeated exposure can dry and degrade combustible materials behind it.
This is why the stated clearance to combustibles is so important. It is the tested distance needed between the stove and materials that can burn, such as timber, certain plasterboard systems, wallpaper, furnishings and structural elements concealed within a wall.
Clearances vary considerably between appliances. Some modern stoves are designed with lower rear clearance requirements, while others need much more room around them. The flue pipe also has its own clearance requirements, which are often overlooked when homeowners focus only on the stove body.
A well-planned installation considers the entire arrangement: the stove, hearth, flue, chimney or liner, wall construction, ventilation and the room itself. This is particularly valuable in older Cheshire and Wirral properties, where chimney breasts and wall materials can differ from one room to the next.
Types of stove heat shields
There is no single heat shield that suits every stove or every home. The best option depends on the appliance instructions, the required clearances and the look you would like to achieve.
Ventilated heat shields
A ventilated shield is installed with an air gap between the shield and the wall. Cool room air enters at the bottom, rises behind the panel as it warms and escapes at the top. This airflow helps limit heat transfer to the wall behind.
Because the air gap is central to how this system works, it must not be blocked with adhesive, insulation or tightly packed decorative materials. The shield must also be fixed securely using suitable non-combustible spacers and fixings.
Ventilated systems can be effective where room depth is limited, but the design must follow the stove manufacturer’s instructions and the relevant installation guidance. Small details, including the gap size and open edges, can affect performance.
Non-combustible boards and panels
Purpose-made fireproof boards, calcium silicate boards and other tested non-combustible panel systems are often used to create a safe backdrop for a stove. These can be finished with plaster, paint, tiles, slate or decorative stone, depending on the product and its intended use.
This option gives plenty of design flexibility. It can create a clean contemporary chimney breast, a simple painted feature wall or a more traditional fireplace setting. However, “fireproof” is not a catch-all description. A material may be non-combustible but still need an air gap or a particular fixing method to perform as intended.
Masonry, brick and stone finishes
Brick, natural stone, slate and tile can provide an attractive, durable finish around a stove. If they are installed over a suitable non-combustible structure, they can form part of a heat-resistant fireplace surround.
The finish alone is not the whole answer. For example, tiles fixed directly over a combustible wall may not provide the required protection. The substrate, adhesive, depth of the wall and ventilation behind the surface all need to be considered.
A heat shield is different from a hearth
It is easy to confuse a heat shield with a hearth, especially when planning a full fireplace renovation. They have different roles.
A hearth protects the floor beneath and in front of the stove from heat, sparks and falling fuel. Its size, thickness and construction depend on the appliance and whether the stove is designed to raise the hearth temperature above a specified level. A wall heat shield protects nearby vertical surfaces.
Many installations need both, along with a suitable flue arrangement and appropriate clearance to a mantel beam or shelf above. Treating these elements as one complete system produces a safer result and usually looks better too.
Common mistakes to avoid
The most frequent mistake is choosing a heat shield solely for its appearance. A tiled wall, a rustic beam or a slim stove recess may look ideal on a mood board, but it has to work with the clearances required by the actual appliance.
Another issue is assuming that a solid-looking wall is non-combustible throughout. A chimney breast may contain timber lintels, studwork, plasterboard or services hidden behind the surface. Older properties can hold particular surprises, so an on-site inspection is worthwhile.
Homeowners should also avoid reducing clearances themselves after installation by adding a basket of logs, furniture, curtains or a decorative storage unit beside the stove. The clear area around the appliance needs to remain clear in everyday use, not just on fitting day.
Finally, do not rely on general online dimensions for your own project. The stove manual takes priority, and the requirements for the flue, wall and hearth all need to be read together.
Planning your stove heat shield
Start with the stove you are considering, rather than selecting a wall finish first. Its heat output, rear and side clearances, flue position and installation instructions will shape what is possible in the room.
Next, consider the wall honestly. Is it a traditional masonry chimney breast, a modern stud partition, or an external wall with insulation? Is there enough depth for a ventilated shield if one is required? Would a freestanding stove with more space around it suit the room better than a built-in look?
Style still matters. A simple painted non-combustible chamber can make the stove the focal point, while slate or porcelain tiles can add texture without making the room feel heavy. In a period property, brick or a carefully chosen mantel can feel at home, provided it is positioned and protected correctly.
A showroom visit can make these decisions easier. Seeing stoves, hearths, surrounds and finishes together gives a much clearer sense of scale than viewing individual samples. At Wirral Fires, our no-pressure approach is centred on helping customers choose an installation that works safely, suits their home and remains practical for years to come.
When to ask for professional advice
Professional guidance is especially sensible if you are opening up an old fireplace, fitting a stove into a shallow recess, building a false chimney breast or installing close to a timber feature. It is also essential where a flue route passes through a ceiling, roof space or combustible structure.
A competent installer can assess the proposed location, check the manufacturer’s requirements and identify issues before materials are ordered. They can also ensure the finished installation is properly commissioned and that you understand how to use and maintain the stove safely.
The most reassuring stove installations are the ones where the heat shield, hearth, flue and finish have been planned together from the outset. Take a few photographs and room measurements, bring your ideas along for a conversation, and let the practical details shape a fireplace you will enjoy using with confidence.